
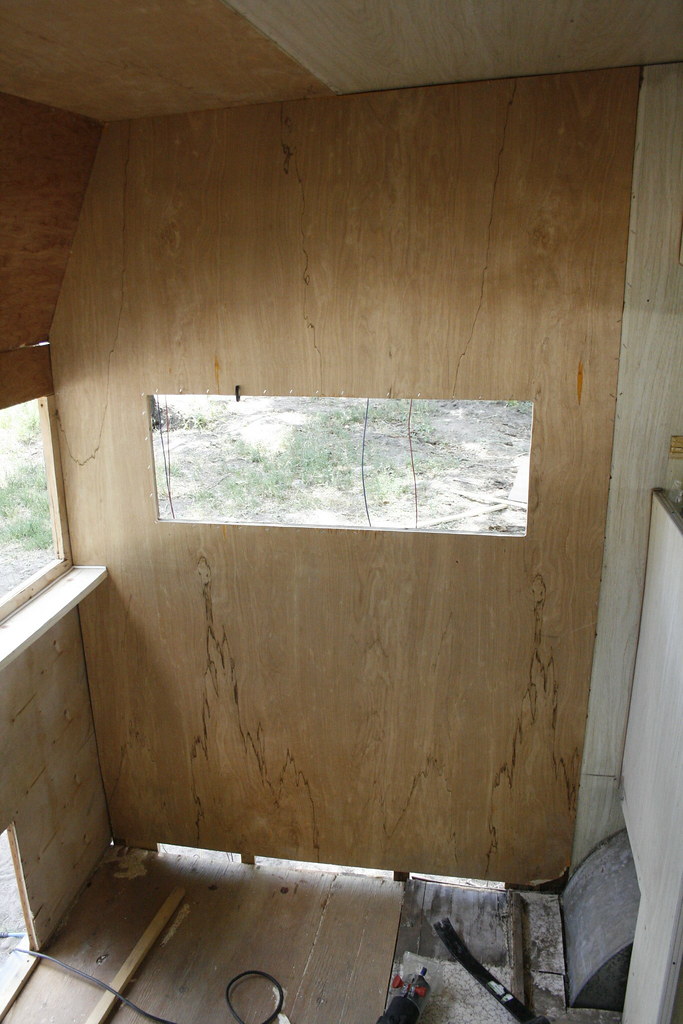
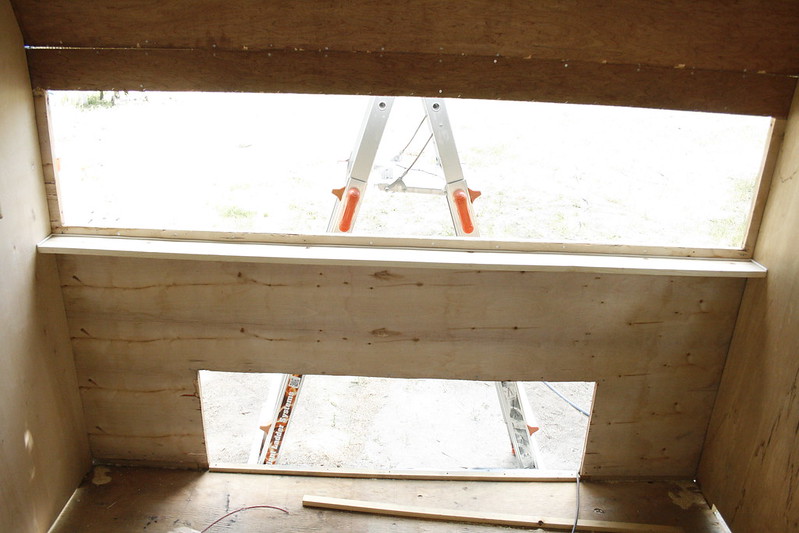
To Get that angle in the back, Richard traced it onto some cardboard. It still required lots of adjusting to make it fit. And there are some gaps we need to deal with. Somehow. But, the interior walls are in.
Then we put in a shelf across the back wall. Orginally this shelf exsisted as part of the bench back here, but we're going to build the bench a bit differently, so we put the shelf in all on its own. And it made a huge difference to how sturdy the whole thing feels.
We each kept grabbing the wall, giving it a good shake, and yelling, "So sturdy!" We're fun people.
So then we had to replace the shelf across the front of the trailer as well.
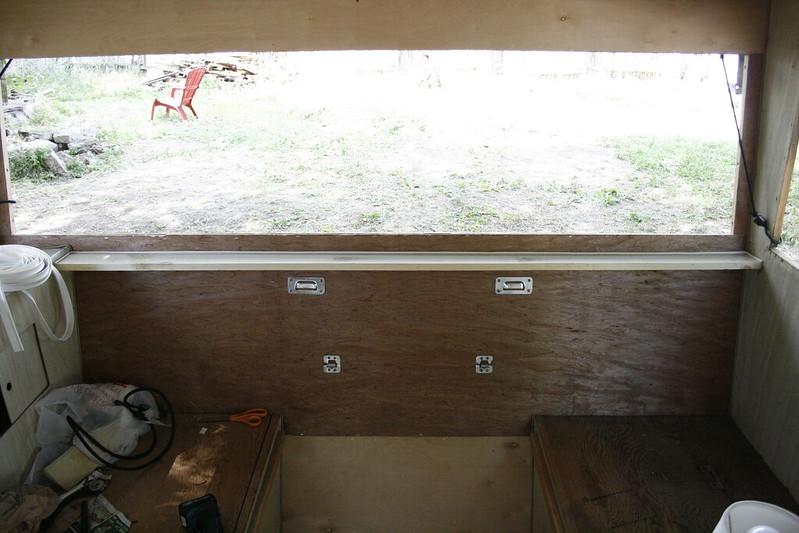
Along with the hardware that holds up the table. For both of these shelves, before putting them up we first stapled gimp around one edge. It is also known as welt, but why would I call it welt when I can call it gimp? I'm sure you can get white gimp online lots of places. We got ours from Vintage Trailer Shop.
It was a bit fatter than the original gimp used in the trailer, and really, I don't love it. The gimp itself was fine, but in general, I guess I'm not a gimp fan. It was tricky to get a nice clean line. I'd like to use caulk in the future, but I don't really know how it will hold up to all the twisty and stretchy that goes on in a travel trailer.
So, that is where we are right now. And if all my nieces and nephews would stop getting married, we might actually have time to finish this thing! Sheesh!
