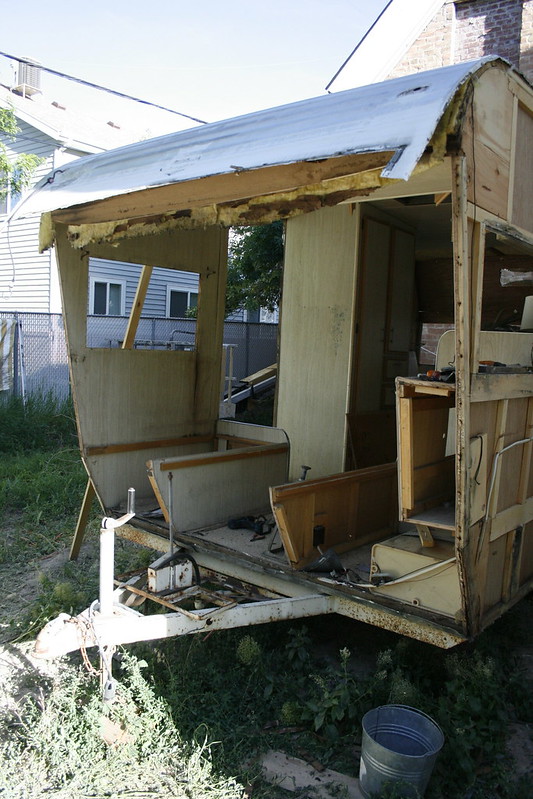
Step 1: Remove Siding
I'm pretty sure trailers and motorhomes like this were built by building the wall flat on the ground (or whatever surface they were using. Don't lets get hung up on semantics here.) They laid out their framing and stapled it together. Then they laid the interior paneling on top and stapled it in place. Then the whole completed wall could be lifted up and secured to the floor. Once all the walls were in place the trailer could be wrapped with aluminum siding.
My point is, if you need to gain access to the framing inside the trailer walls, your best bet is to do it from the outside.
You'll have to remove all the drip trim, lights and other do-dads attached to the exterior of the trailer. After that it is just a matter of pulling out all the staples holding the siding in place - a flat head screw driver and a pair of needle-nose pliers should do the trick.
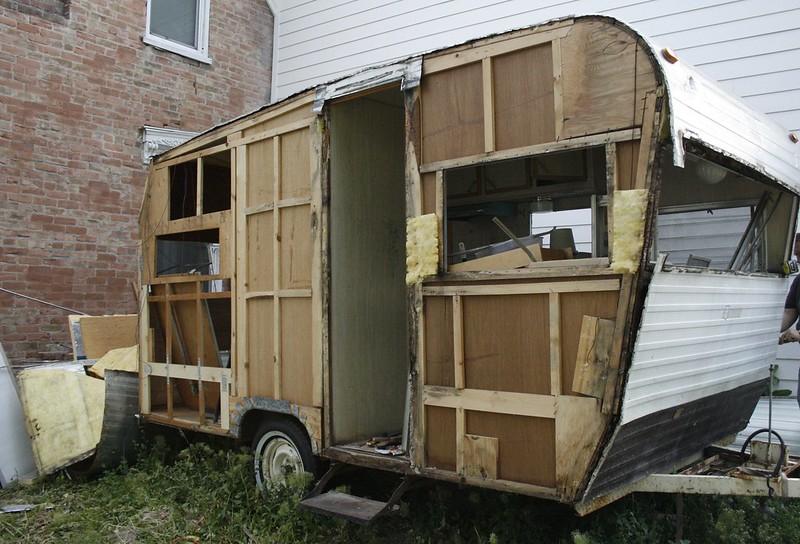
Step 2: Assess the Damage
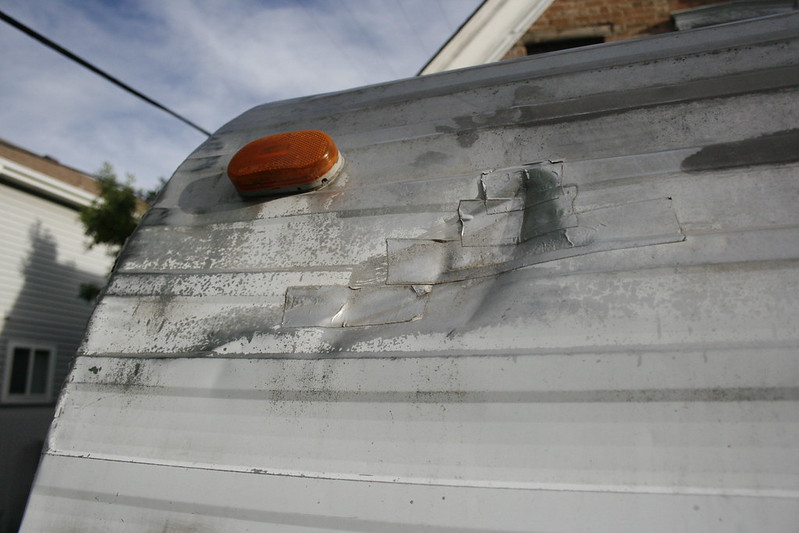
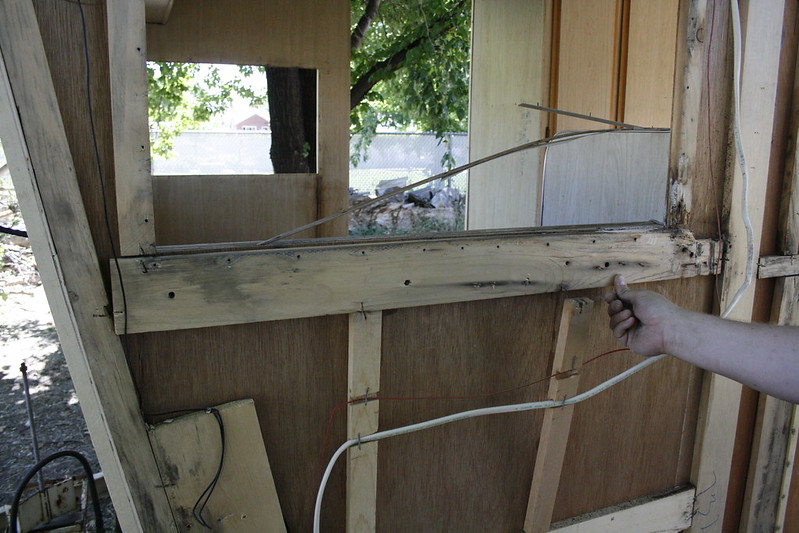
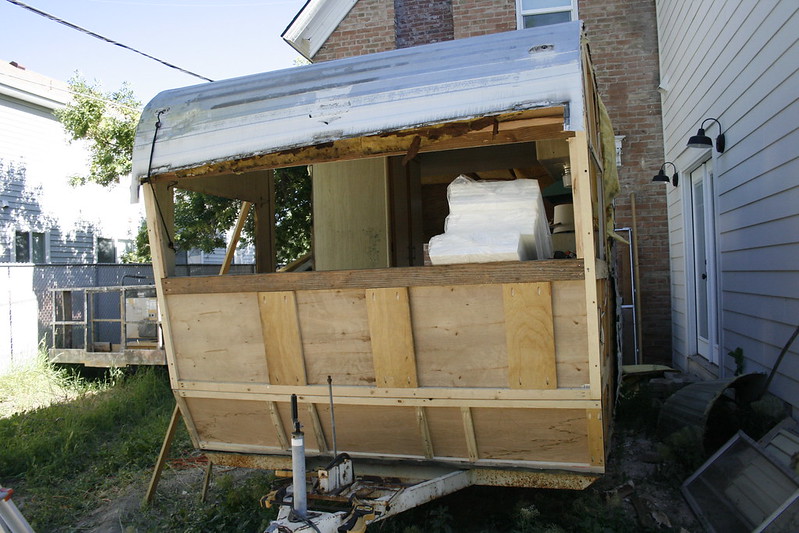
The problem is, sometimes you can't tell what is damaged until you get the siding off and look at it. We were getting ready to finish up the rear of our travel trailer and just call it good, but both of us started thinking "What if there is more damage that we don't know about?" Especially because there was a pretty big dent near the roof in the front that had been repaired with metal tape.
What were the chances that hadn't caused some problems? So we pulled the rest of the siding off.
What were the chances that hadn't caused some problems? So we pulled the rest of the siding off.
And see what we found?

This wood in the above picture rotted because the seal behind the light up near the roof had gotten old and worn away. So this was just from water dripping through the hole the wires for the light ran through. One tiny hole can cause so much damage.
From the inside the walls looked okay, but clearly they were NOT. I'm so glad we checked. How much longer would we have been able to tow the trailer around before the front of it just collapsed? There were enough bad boards in the front wall we decided to replace the whole thing.
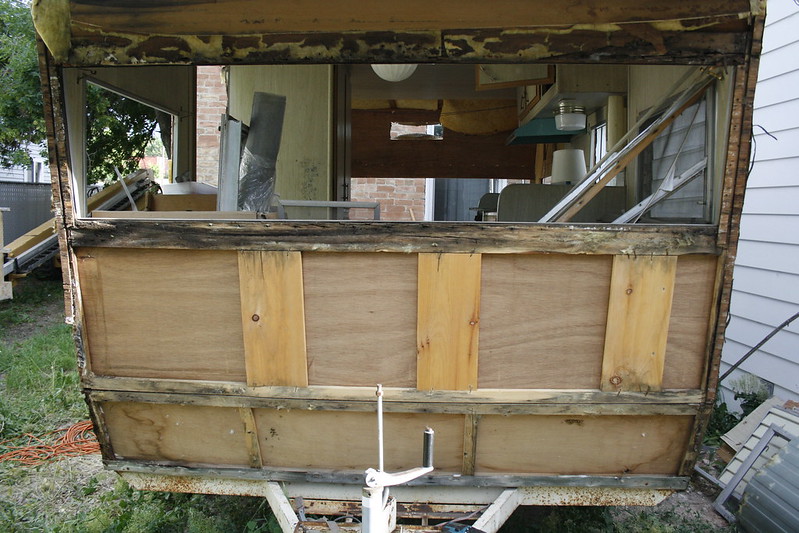
Maybe so many boards are bad, or maybe the interior paneling is so bad that it makes more sense to replace the whole wall. Lucky you, you have that whole wall in front of you to use at a life size pattern of exactly what the wall should look like. If your wood has rotted so bad that you can no longer tell what should go where, then, dang, I don't know how to help you.
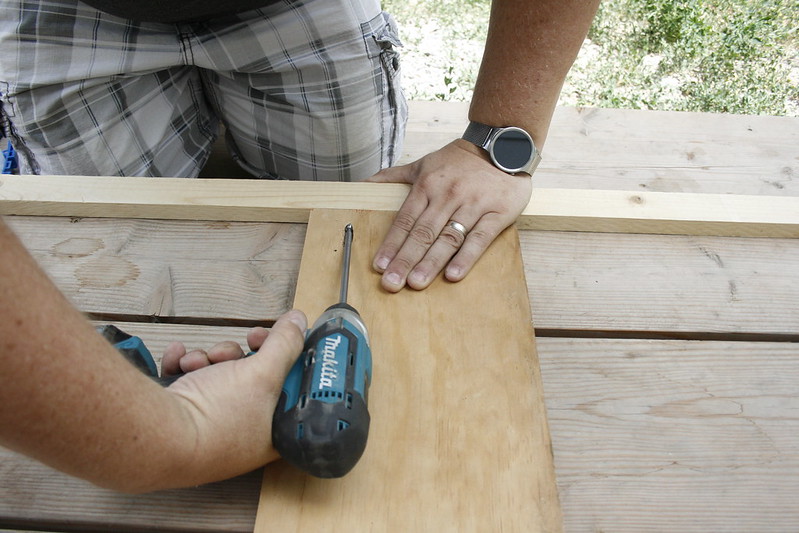
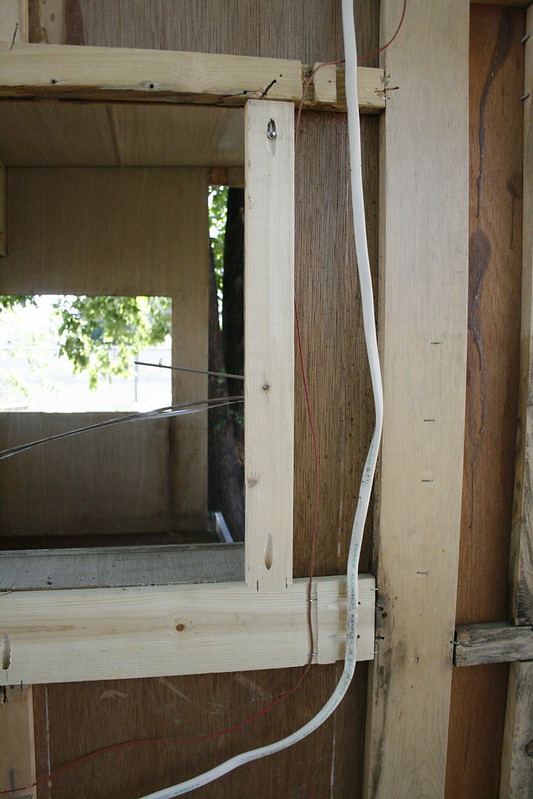
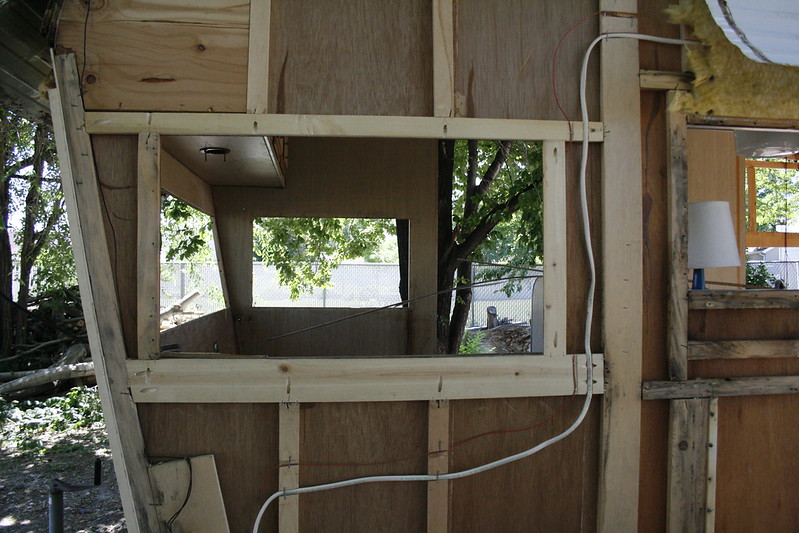
Using the exposed wall, you now know what size to cut all your wood. So, Cut it! And hook it together! In the Right Places! Like so!
Step 3: Use the Existing Wall as your Template
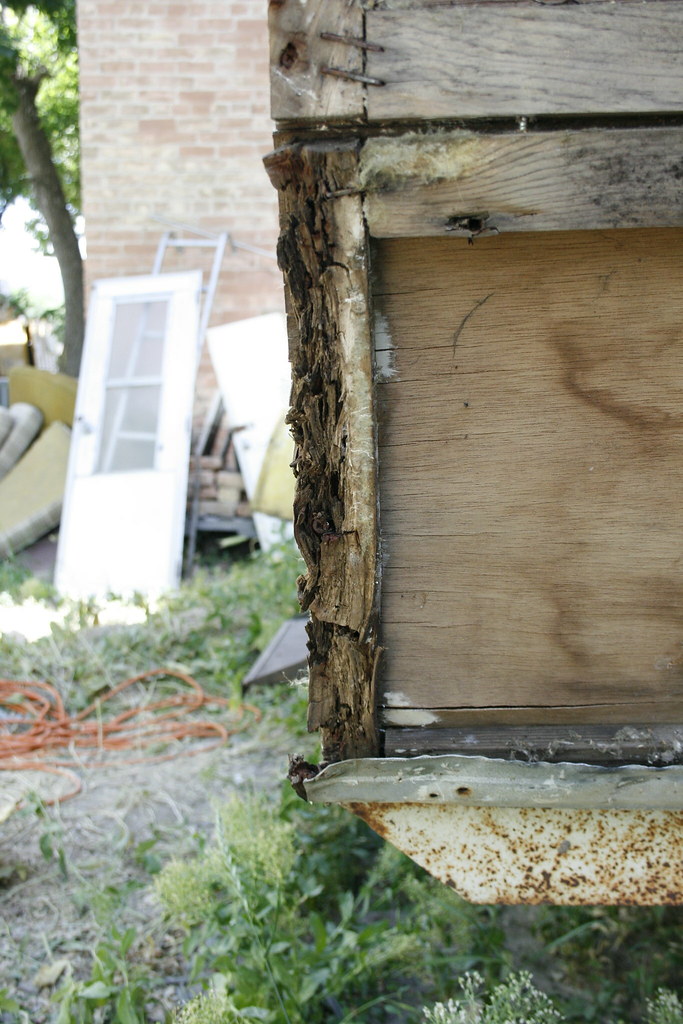
If just a few boards are rotted and soft, cut new ones and replace them. Our bad boards were held in place with glue, and big staples, but it wasn't too much work to get them out, on account a them being mostly dead.
What follows is a story in pictures representing how this is done:
What follows is a story in pictures representing how this is done:
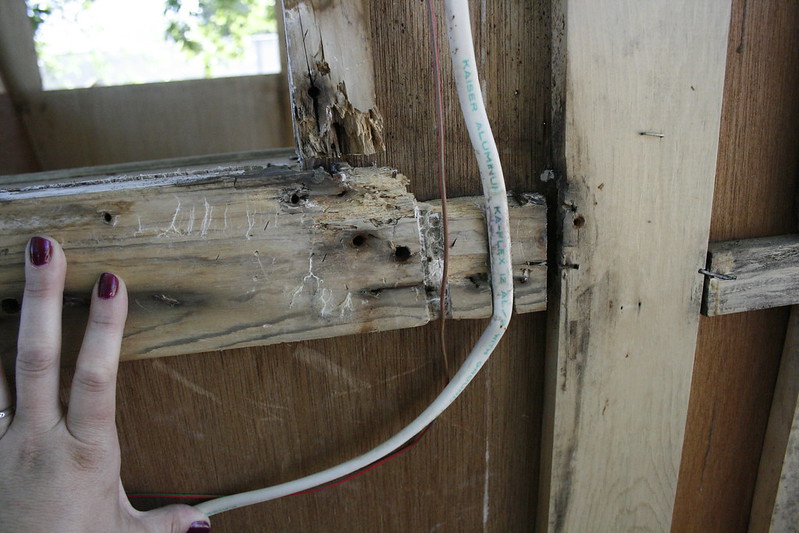
See the ugly, sad piece of wood.
So, so ugly. And also sad.
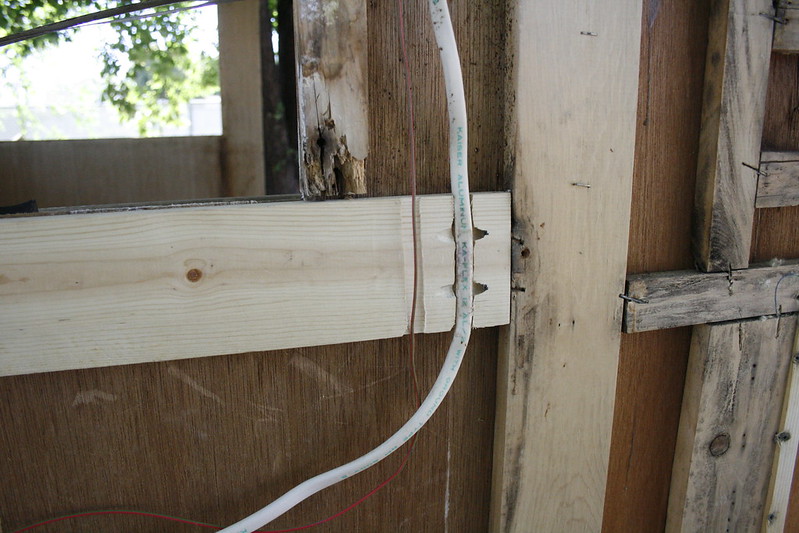
Happy, new piece of wood! But no! The piece above it is also sad!
New, happy piece of wood!
Happy Wall!
Ok. so I used words in my picture story. But I clearly made my point, very eloquently: Remove the bad board, cut a new board the same size (or you can measure the space you pulled the bad board out of), put the new board in. High Five your friend for a job well done. Or high five yourself if you have no friend.
Step 4: If you need to rebuild the Whole Wall, get busy.
Maybe so many boards are bad, or maybe the interior paneling is so bad that it makes more sense to replace the whole wall. Lucky you, you have that whole wall in front of you to use at a life size pattern of exactly what the wall should look like. If your wood has rotted so bad that you can no longer tell what should go where, then, dang, I don't know how to help you.
Using the exposed wall, you now know what size to cut all your wood. So, Cut it! And hook it together! In the Right Places! Like so!
If you don't have a method for making those pocket holes like you see above, you can also use braces like these:
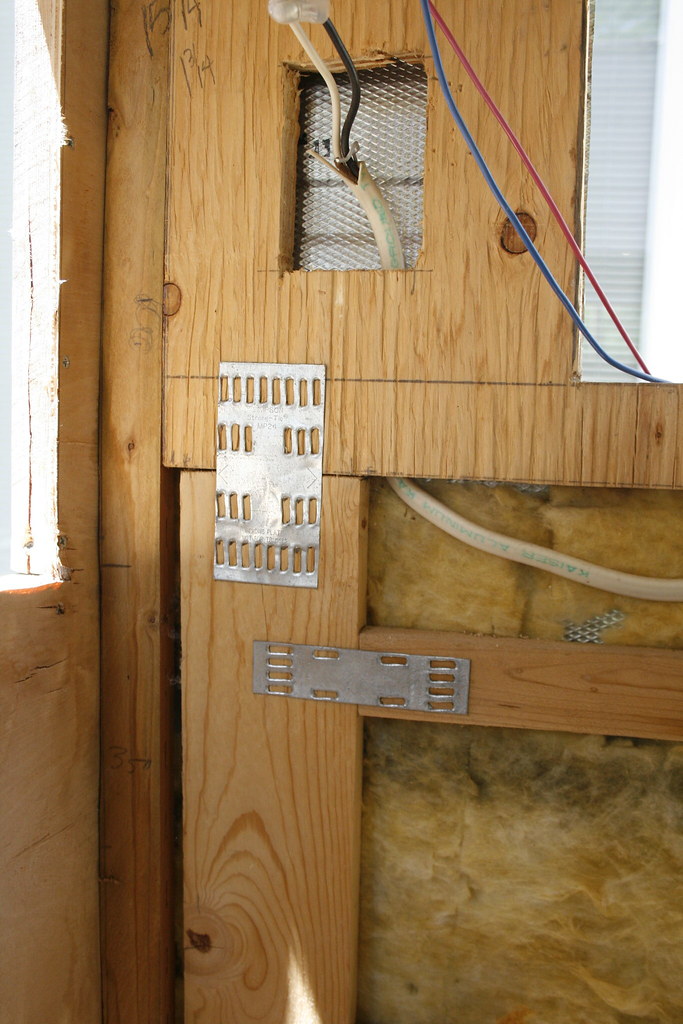
Just remember that they are kind of a pain in the bum. And you might hate me for suggesting them.
Step 5: Attach your interior paneling to the framed wall you just built.
I don't have picture of this. You'll just have to take my word for it that this is a necessary step. We used underlayment, and secured it with staples.
Step 6: Make sure you know exactly where your new wall goes.
If you are using the original siding, you need to make sure your wall is the same as the old one, or your windows and edges won't line up. You could do this by taking pictures of every single joint where one wall meets another. You could make some marks where certain edges are supposed to meet. Or you could do something even smarter that we didn't think of.
Just remember that you have to get that wall back in in the right place, or your holes won't match up and you will be screwed.
Step 7: Pull off the bad wall.
Bad wall! Bad! Take that bad wall down!
Step 7: Attach the New Wall.
This was a little tricky with only two people. Clamps were our friends.
We used screws to attach the front wall to the side walls, but it wasn't until we attached it to the boards that make up those benches you see in the picture above, and to the cabinets you can't see in the picture above, that the wall really became secure.
Keep that in mind as you are rebuilding your trailer. You may be tempted to remove cabinets and shelves and benches to get more space, but every one of those built in pieces of furniture help to strengthen the trailer structurally. So proceed with caution.
And there you have it! New wall! And boy, howdy! is it sturdy! You know, for a trailer.
Things are getting exciting! Until next time, Adieu!
